This is the second post in a series about building an app with ASP.NET 5, MVC 6 and Entity Framework 7. The First Post was about setting up source control and creating the project. This post will discuss publishing to azure and setting up continuous deployment.
Publishing to Azure
Lets get to it. Right click the project name and select Publish. Go into Profile and choose Microsoft Azure Web Apps. If you choose to use Azure while creating the project you can choose the existing one. Otherwise you need to set-up a new one. The process is the same as when creating a new project (see First Post).

Go by the connection details as these should be already filled in.

Settings can stay as they are. And then Publish.

And now it’s running fine in azure.


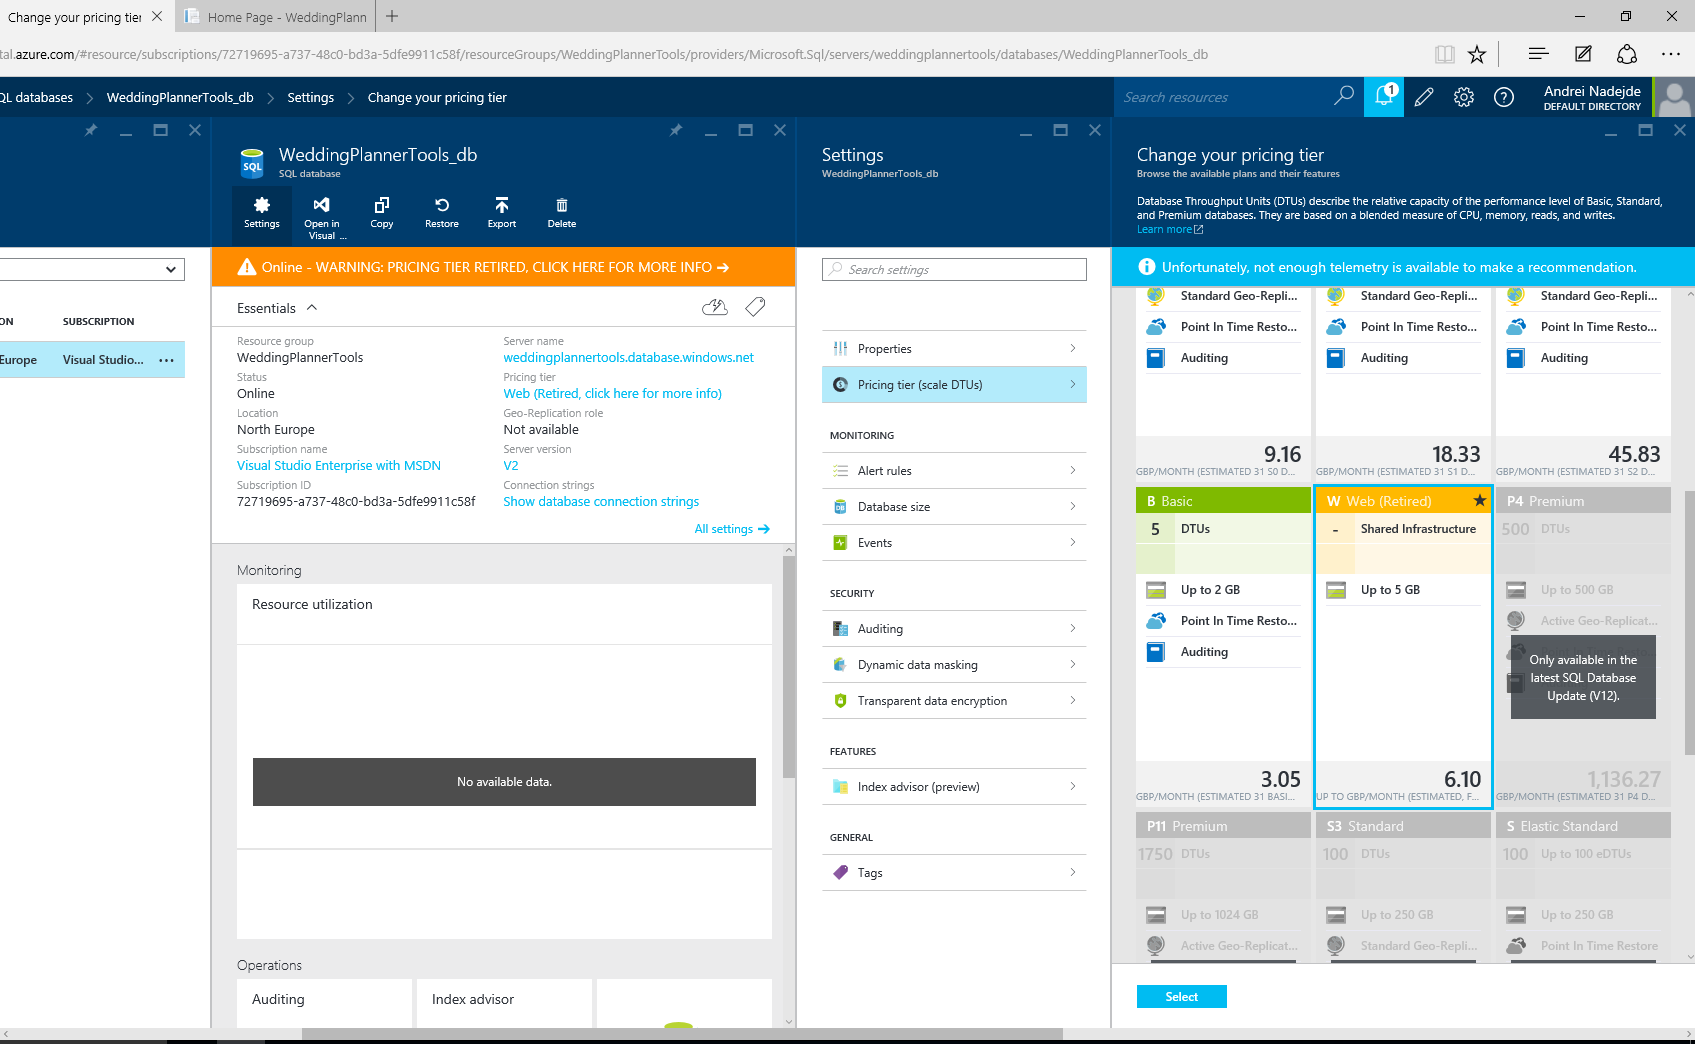
It’s running on the free tier. You can have up to 10 free web apps running on azure. Sql server is also provisioned automatically but on a retired tier and you have to change it yourself by going into Settings > Pricing tier. Sql server is not free but for 3£ per month you’re not going to go broke.
Continuous Deployment
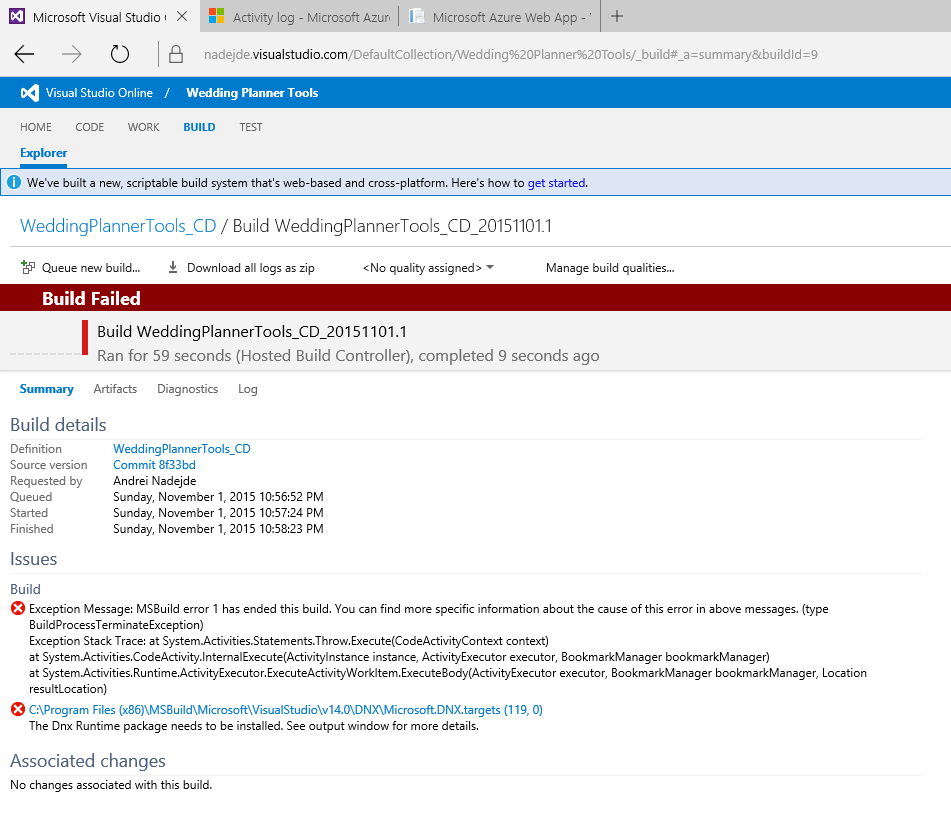
You can set-up Visual Studio Online to automatically build and deploy when you check-in your code. There’s a good guide to follow for setting this up here https://msdn.microsoft.com/Library/vs/alm/Build/azure/deploy-aspnet5. I had a small problem at first because the build step was set to do a nuget package restore.

This was causing problems because the new project files are not compatible to the old way of using nuget. All nuget packages are restored in the pre build powershell script by invoking dnu restore. I went into the build step and unchecked the restore nuget package option. I also disabled the unit test step as it was throwing an error about a path length (we don’t have unit tests yet anyway). We will set that up when we write some. After that everything went fine.

You can check remaining free build time in the azure portal. You can also switch to a paid model if you need more time. That will eat up into your azure credit. Strangely enough the time spent by my builds is not showing up in azure so free builds!

You should be able to set-up the process automatically through azure portal by going into Settings > Continuous Deployment for the web app. Choose the source as Visual Studio Online. Choose the Team Project you want to connect to, the repository and the branch. I’ve set mine to build off the master branch. Azure will then set everything up for you. Each time you check-in into the selected branch you will see a build and deployment triggered. However it seems that build agent used by Visual Studio Online is not set-up for dnx (hence the manual set-up). I’m sure this will get fixed at some point in the future.
Links
https://msdn.microsoft.com/Library/vs/alm/Build/azure/deploy-aspnet5
First Post
ASP.NET 5
MVC 6
Entity Framework 7
